What Happens During a Staircase Renovation? A Step-by-Step Guide
A staircase renovation is one of the more satisfying home improvement projects to be part of, because the transformation is immediate and complete. On day one, you have a dated carpeted softwood staircase. On day three or four, you have a solid hardwood staircase that looks as though it was always there.
The process between those two points is worth understanding before work starts. This guide covers what happens at each stage of a cladding renovation, which is the most common staircase project in Co. Louth and South Armagh.
Stage 1: Assessment and Design
Before any work begins, John visits the site and carries out a structural assessment of the existing staircase. This determines whether cladding is the right approach or whether the structure needs more significant intervention before hardwood components can be added.
The assessment checks the strings, carriage, and individual treads for movement, rot, and structural integrity. If all is sound, the design conversation begins.
At this stage:
- The hardwood species is confirmed: oak, ash, or walnut
- The tread profile is agreed: square-edged, bullnose, or double bullnose nosing
- The balustrade design is selected: style of spindle, newel post profile, handrail section
- Any design details are agreed, such as an open riser configuration or a glass balustrade section
A written quote is provided before work is scheduled. No work begins without a confirmed and detailed quote.
Stage 2: Preparation
On the first day of work, preparation starts.
Carpet removal: Carpet and underlay are stripped from the treads, risers, and landing. Staples and tack strips are removed. This is a dusty job and John takes precautions to contain the mess.
Existing tread assessment: With the carpet off, the condition of the existing treads and risers is confirmed. Any treads with significant movement or damage are addressed at this stage, either by refixing them to the carriage with screws driven from beneath, or by cutting them out if they are not worth retaining.
String preparation: The existing string boards, if they are being retained, are cleaned back and checked for fixings. Any protruding screws or nails that would prevent the new hardwood components from sitting flat are removed or set below the surface.
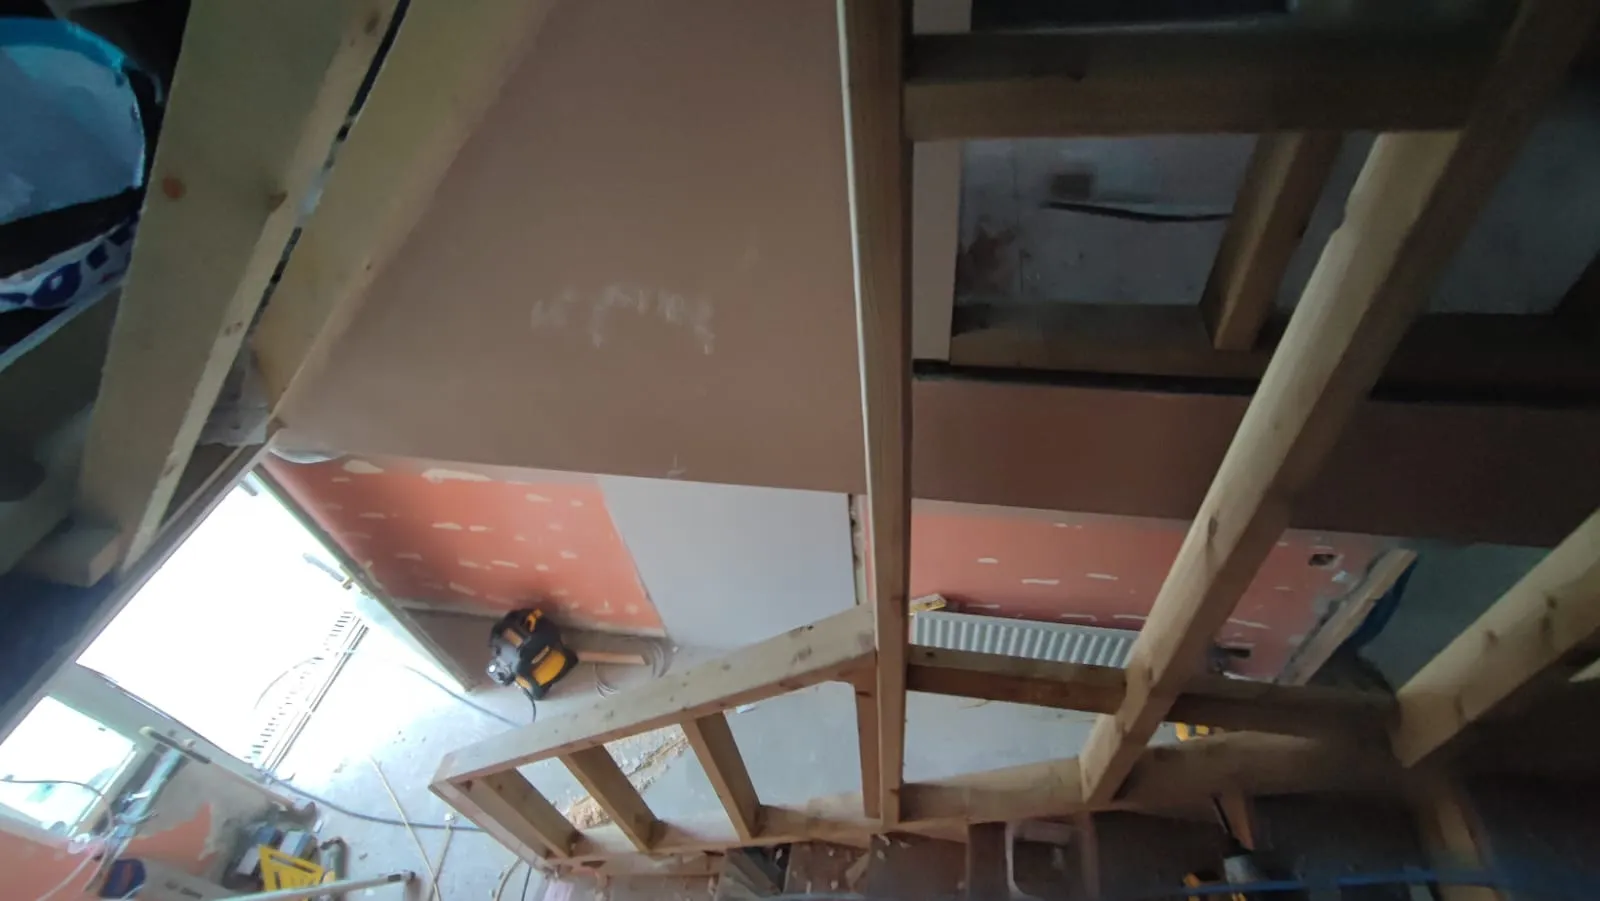
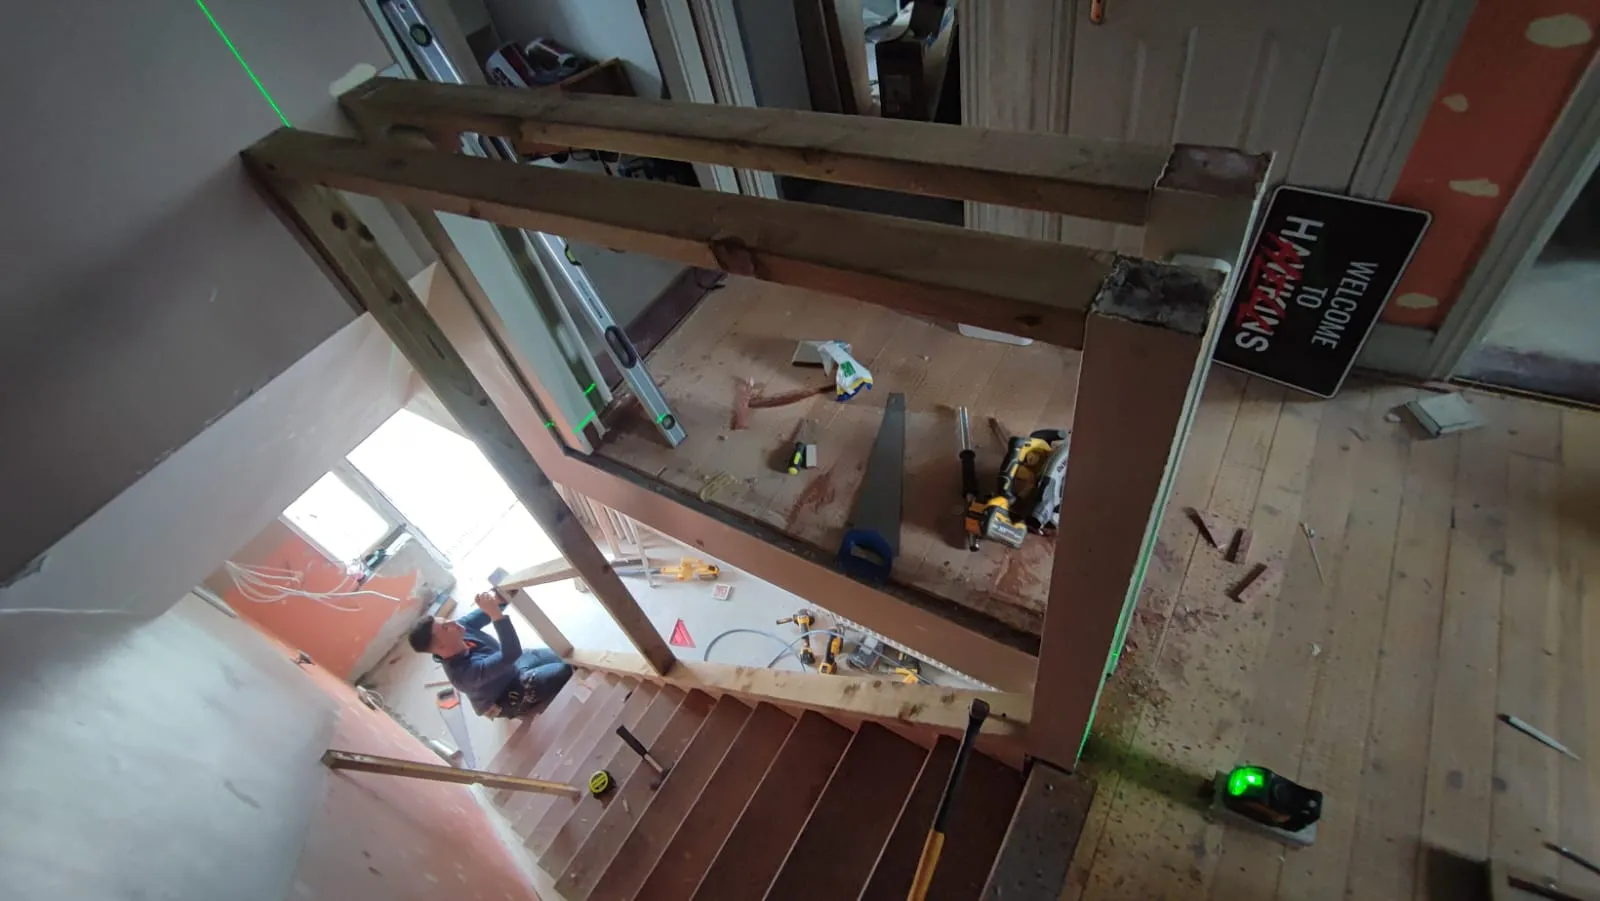
Balustrade removal: The existing spindles, handrail, and newel posts are removed. In older Co. Louth homes this sometimes reveals original timber that is worth retaining or treating before the new balustrade is fitted. More often it simply reveals the existing string and structural arrangement.
Stage 3: Fitting New Treads and Risers
With the staircase stripped and prepared, the new hardwood components are fitted.
Risers first: On a cladding project, new hardwood risers, the vertical faces between treads, are fitted before the treads. This is because the tread nosing overlaps the top of the riser below it. Getting the risers right first ensures the treads sit correctly and the nosing line is consistent.
Treads: Solid hardwood treads are fitted over the existing structure using both adhesive and mechanical fixings. Adhesive is applied to the existing tread surface and the back of the new hardwood tread. The tread is then secured with screws driven through countersunk holes, which are subsequently filled.
Both adhesive and mechanical fixings are used. Adhesive alone can fail over time as the staircase moves with humidity changes. Fixings alone can work loose. Both together prevent the movement that causes creaking.
Nosing alignment: One of the most visible signs of quality in a staircase renovation is the consistency of the nosing line. The front edge of each tread should project the same distance beyond the riser below it, consistently across the full flight. John checks this on every tread before moving to the next.
Stage 4: Fitting the Balustrade
With treads and risers in place, the balustrade installation begins.
Newel posts: The base newel post at the bottom of the flight and the landing newel post at the top are fitted first. These are the structural anchors for the entire balustrade and their position and fixing are critical. Both are bolted through the string and floor structure rather than simply nailed.
Spindles: Individual spindles are cut to length, accounting for the rake angle of the staircase, and fitted between the newel posts. Consistent spacing is measured and marked before any spindle is fixed. Building regulations in Ireland specify a maximum spindle gap of 100mm, through which a 100mm sphere should not be able to pass. John checks compliance on every installation.
Handrail: The handrail is cut and fitted over the spindles and newel posts. On a straight staircase this is a relatively straightforward process. Where the staircase has a turn or landing, the handrail needs to be jointed or curved to follow the change of direction. This is where staircase joinery requires genuine skill rather than basic assembly.
Stage 5: Finishing
With the full staircase fitted, the finishing stage begins.
Filling and sanding: Screw holes are filled with timber-toned filler. The surface is sanded with progressively finer grits to produce a smooth, even surface ready for oil.
Hardwax oil application: Two coats of hardwax oil are applied to all exposed timber surfaces. The first coat is allowed to dry fully before the second is applied. Hardwax oil penetrates the timber rather than sitting on the surface, which means it will not peel or crack over time.
Finishing details: Stair nosing strips at the top landing edge, any plinth blocks at the base of newel posts, and any capping to the string are fitted last.
The completed staircase is ready for use once the oil has cured, typically 24-48 hours after the final coat.
How Long Does It Take?
For a standard straight flight cladding with a new hardwood balustrade:
- Preparation: half a day to one day
- Treads and risers: one to two days
- Balustrade: one to two days
- Finishing: one day
Total installation time: three to five days for a standard single-flight staircase. An L-shaped staircase with a landing runs five to seven days. A full structural replacement takes longer.
The house is typically usable during the renovation, with the staircase accessible at the end of each day once adhesive has cured.
Frequently Asked Questions
Do I need to move out during the renovation? No. The staircase is kept accessible at the end of each working day. John plans the work sequence so there is always access between floors. Dust is managed but there will be sawdust during the cutting stages, so it is worth removing any items from the hallway area.
What about the skirting boards and string capping? John installs new hardwood capping to the top of the string boards as part of the renovation. Skirting board making-good at the base of the staircase is typically coordinated with the client’s decorator if repainting is planned as part of the wider renovation.
Can the staircase be used while the oil is curing? Light foot traffic is possible after 12 hours. Full curing takes 24-48 hours. John advises on this at handover.
If you are planning a staircase renovation in Dundalk, Carlingford, Newry, or across Co. Louth, the Setanta staircase service covers everything from assessment to finished installation. For an idea of what to budget, the 2026 staircase cost guide covers the main pricing variables. Call or WhatsApp John on 083 003 3268 to arrange a site visit.