How Herringbone Parquet Flooring Is Laid: A Carpenter’s Guide
Herringbone is not complicated to understand as a pattern. Rectangular blocks, alternating direction, interlocking to form a continuous V-shaped design across the floor. What is less obvious, until you have watched it being laid, is how much preparation and precision is required to make that pattern work across an entire room.
This guide covers the process from subfloor to finished floor, and explains why herringbone costs more to lay than straight plank flooring.
What Herringbone Parquet Actually Is
Herringbone parquet is made up of individual rectangular blocks, typically 70mm x 280mm or 90mm x 360mm for domestic use, laid at 45 or 90 degrees to the room’s main axis. The name comes from the resemblance to a herring’s skeleton, where individual bones angle alternately off a central spine.
The blocks are available in solid hardwood or as engineered parquet, which has a solid hardwood top layer over a plywood core. For most Irish homes, engineered parquet is the technically correct choice because its dimensional stability handles Ireland’s humidity variation better than solid parquet blocks, which are more prone to gapping and cupping in damp conditions.
Stage 1: Subfloor Assessment and Preparation
No floor can be better than the subfloor it is laid on. Before any herringbone parquet is considered, the subfloor must be assessed for two things: moisture and levelness.
Moisture: Ground-floor concrete slabs in older Irish homes often carry residual moisture. Parquet blocks laid directly over a damp slab will absorb moisture, expand unevenly, and either cup upward at the edges or push against each other and ridge. A moisture test determines whether a damp-proof membrane is needed before fitting begins.
Levelness: Parquet blocks are thin, typically 15-20mm for engineered and 20-22mm for solid. Even small variations in the subfloor surface translate directly to visible variation in the finished floor. Any high spots or dips greater than 2-3mm over a 1.8m span are levelled with floor-levelling compound before fitting starts.
Both of these steps take time and add cost. They are not optional if the floor is to perform correctly.
Stage 2: Setting Out the Pattern
This is the stage that most distinguishes herringbone from straight plank fitting, and the one that most accounts for the cost difference.
Setting out means establishing the centre lines of the room and determining exactly where the first block is placed. The entire pattern radiates from this starting point. If the starting point is wrong by even a few millimetres, the cumulative error across a large room will be visible by the time the floor reaches the walls.
John sets out the pattern before any adhesive is opened. Chalk lines are snapped across the subfloor to establish the principal axes. A dry run of blocks is laid from the centre point toward each wall to check that the pattern works correctly, that cuts at the walls are symmetrical, and that there are no awkward narrow off-cuts at doorways or room transitions.
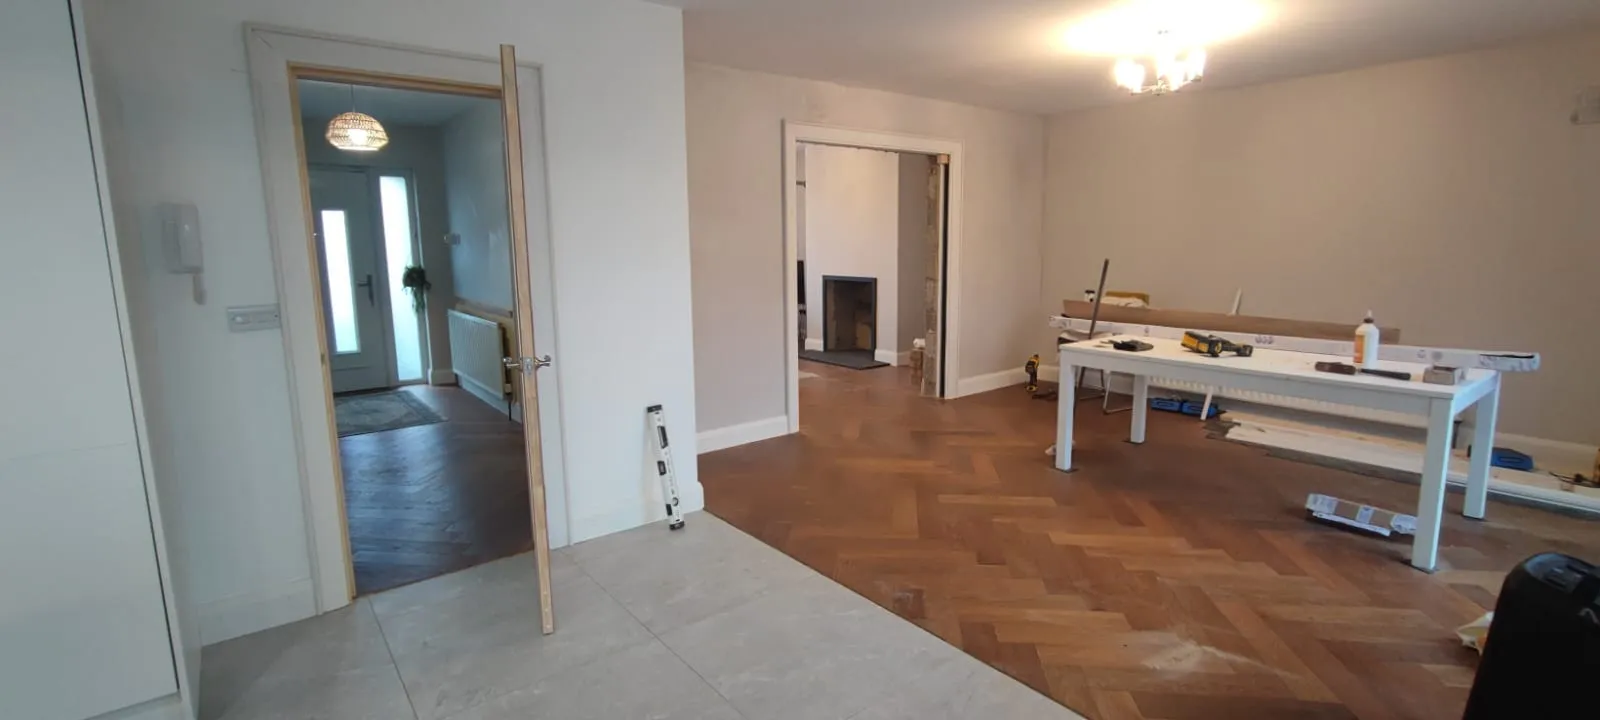
In a room with a bay window, a fireplace, or a hearth, the setting out has to account for how the pattern will meet these features. This takes longer in a complex room than in a simple rectangle, and the time investment at this stage saves significant problems later.
Stage 3: Adhesive Application and Block Laying
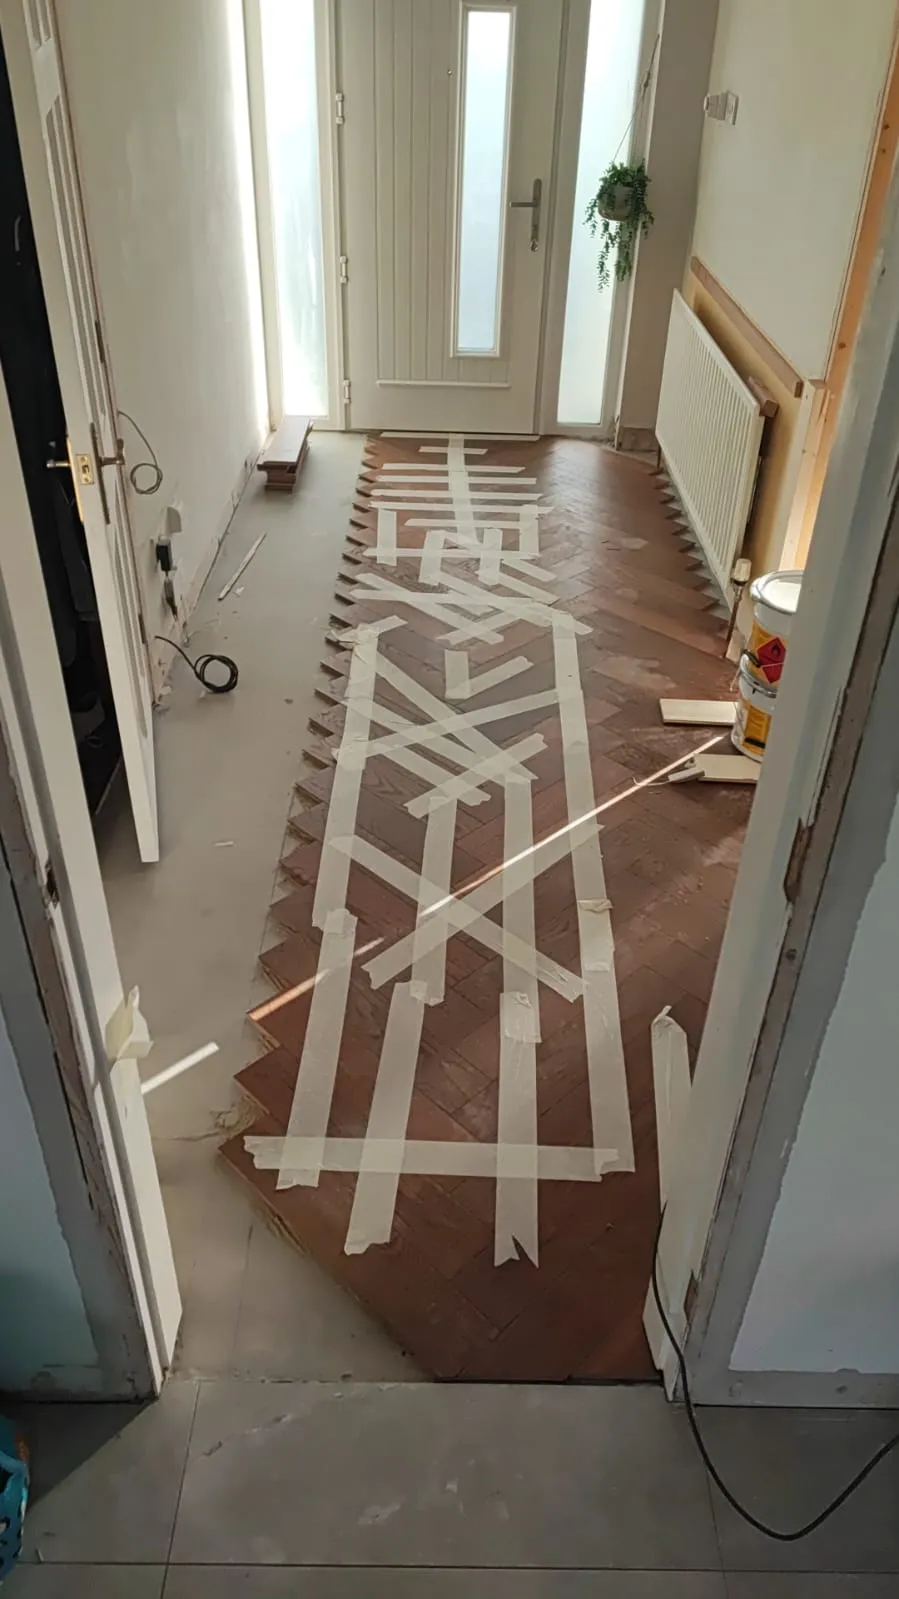
Herringbone parquet blocks are almost always glued down to the subfloor rather than floating or nailed. A flexible flooring adhesive, appropriate for the subfloor type and compatible with the block specification, is trowelled onto the subfloor in manageable sections.
Each block is pressed firmly into the adhesive, aligned to the setting-out lines, and tapped down with a rubber mallet. The blocks interlock at each end, and the pattern builds outward from the centre in a diamond formation before filling the room perimeter.
The discipline required is constant. Every block that is misaligned by a millimetre carries an error into the next block. In a well-laid herringbone floor, the lines are straight across the diagonal, the block ends align cleanly, and the pattern reads consistently without variation from one side of the room to the other.
Speed is not the priority here. Accuracy is.
Stage 4: Cutting at the Room Perimeter
The last stage of laying is the most material-intensive. At the room walls, the pattern must be cut to fit. Because the blocks run at 45 degrees to the wall, each perimeter block requires an angled cut rather than a simple straight cut across the end.
This is why herringbone generates significantly more waste material than straight plank flooring. Every perimeter block produces a triangular off-cut. The waste allowance on a herringbone floor is typically 10-15% above the measured room area, compared to 5-8% for straight plank.
An expansion gap of 10-12mm is left at all walls and fixed points. This allows the timber to expand with humidity changes without buckling. The gap is subsequently covered by skirting boards or a matching timber beading.
Stage 5: Sanding and Finishing
Once the adhesive has cured, typically 24 hours after the last block is laid, the floor is sanded. Even with the best quality engineered parquet, there are minor height differences between adjacent blocks that the sanding process corrects.
Sanding proceeds through progressively finer grits, finishing with a fine orbital sand to produce a smooth, even surface ready for oil.
Two coats of hardwax oil are then applied. The first coat is absorbed into the timber and allowed to dry. The second coat builds the surface protection. Hardwax oil enhances the grain and colour of the oak while providing water and dirt resistance without sealing the surface in a plastic film that can eventually peel.
The floor is ready for normal use 24-48 hours after the final oil coat.
Why It Costs More Than Straight Plank
The cost premium for herringbone over straight plank comes from three sources: more time to set out correctly, more individual handling of small blocks versus long planks, and more waste at the perimeter. A herringbone floor in a 30 m² room might take three to four days to lay where a straight plank floor in the same room would take one to two days.
That time is the difference between a floor that is technically acceptable and one that is visually correct. The diagonal lines must be straight across the room. The block ends must align. The pattern must read as a single resolved design rather than a collection of individually laid pieces. Getting that result consistently is the skill, and it is what you are paying for.
If you are weighing up herringbone against straight plank, the comparison guide covers both options honestly across appearance, cost, and what suits different rooms.
Frequently Asked Questions
How long does a herringbone parquet floor last? Engineered herringbone parquet with a 4mm+ wear layer lasts thirty to fifty years with normal maintenance. It can be sanded and refinished at least twice. Solid parquet lasts longer still and can be refinished more times.
Can herringbone parquet be laid over underfloor heating? Engineered herringbone parquet, yes, provided the heating system is correctly set up and the floor is allowed to acclimatise with the heating running before fitting begins. Solid parquet blocks are less suitable over underfloor heating because of their greater tendency to move with temperature changes.
Is herringbone suitable for a hallway? Yes, and a hallway is one of the best places to use it. The pattern reads well across a linear space, it is highly durable, and it creates a strong first impression. The long sightline of a hallway is exactly where the herringbone V-pattern is most visually effective.
For herringbone parquet or hardwood plank flooring in Dundalk, Carlingford, Newry, or across Co. Louth, the Setanta hardwood flooring service covers supply and fit. For pricing, the 2026 flooring cost guide gives realistic per-square-metre figures for the local market. Contact John on 083 003 3268 to arrange a site visit.